
Pre-Camino: Gear Video
I’ve been browsing through more than a few YouTube gear videos, both from people about...

I’ve been browsing through more than a few YouTube gear videos, both from people about...
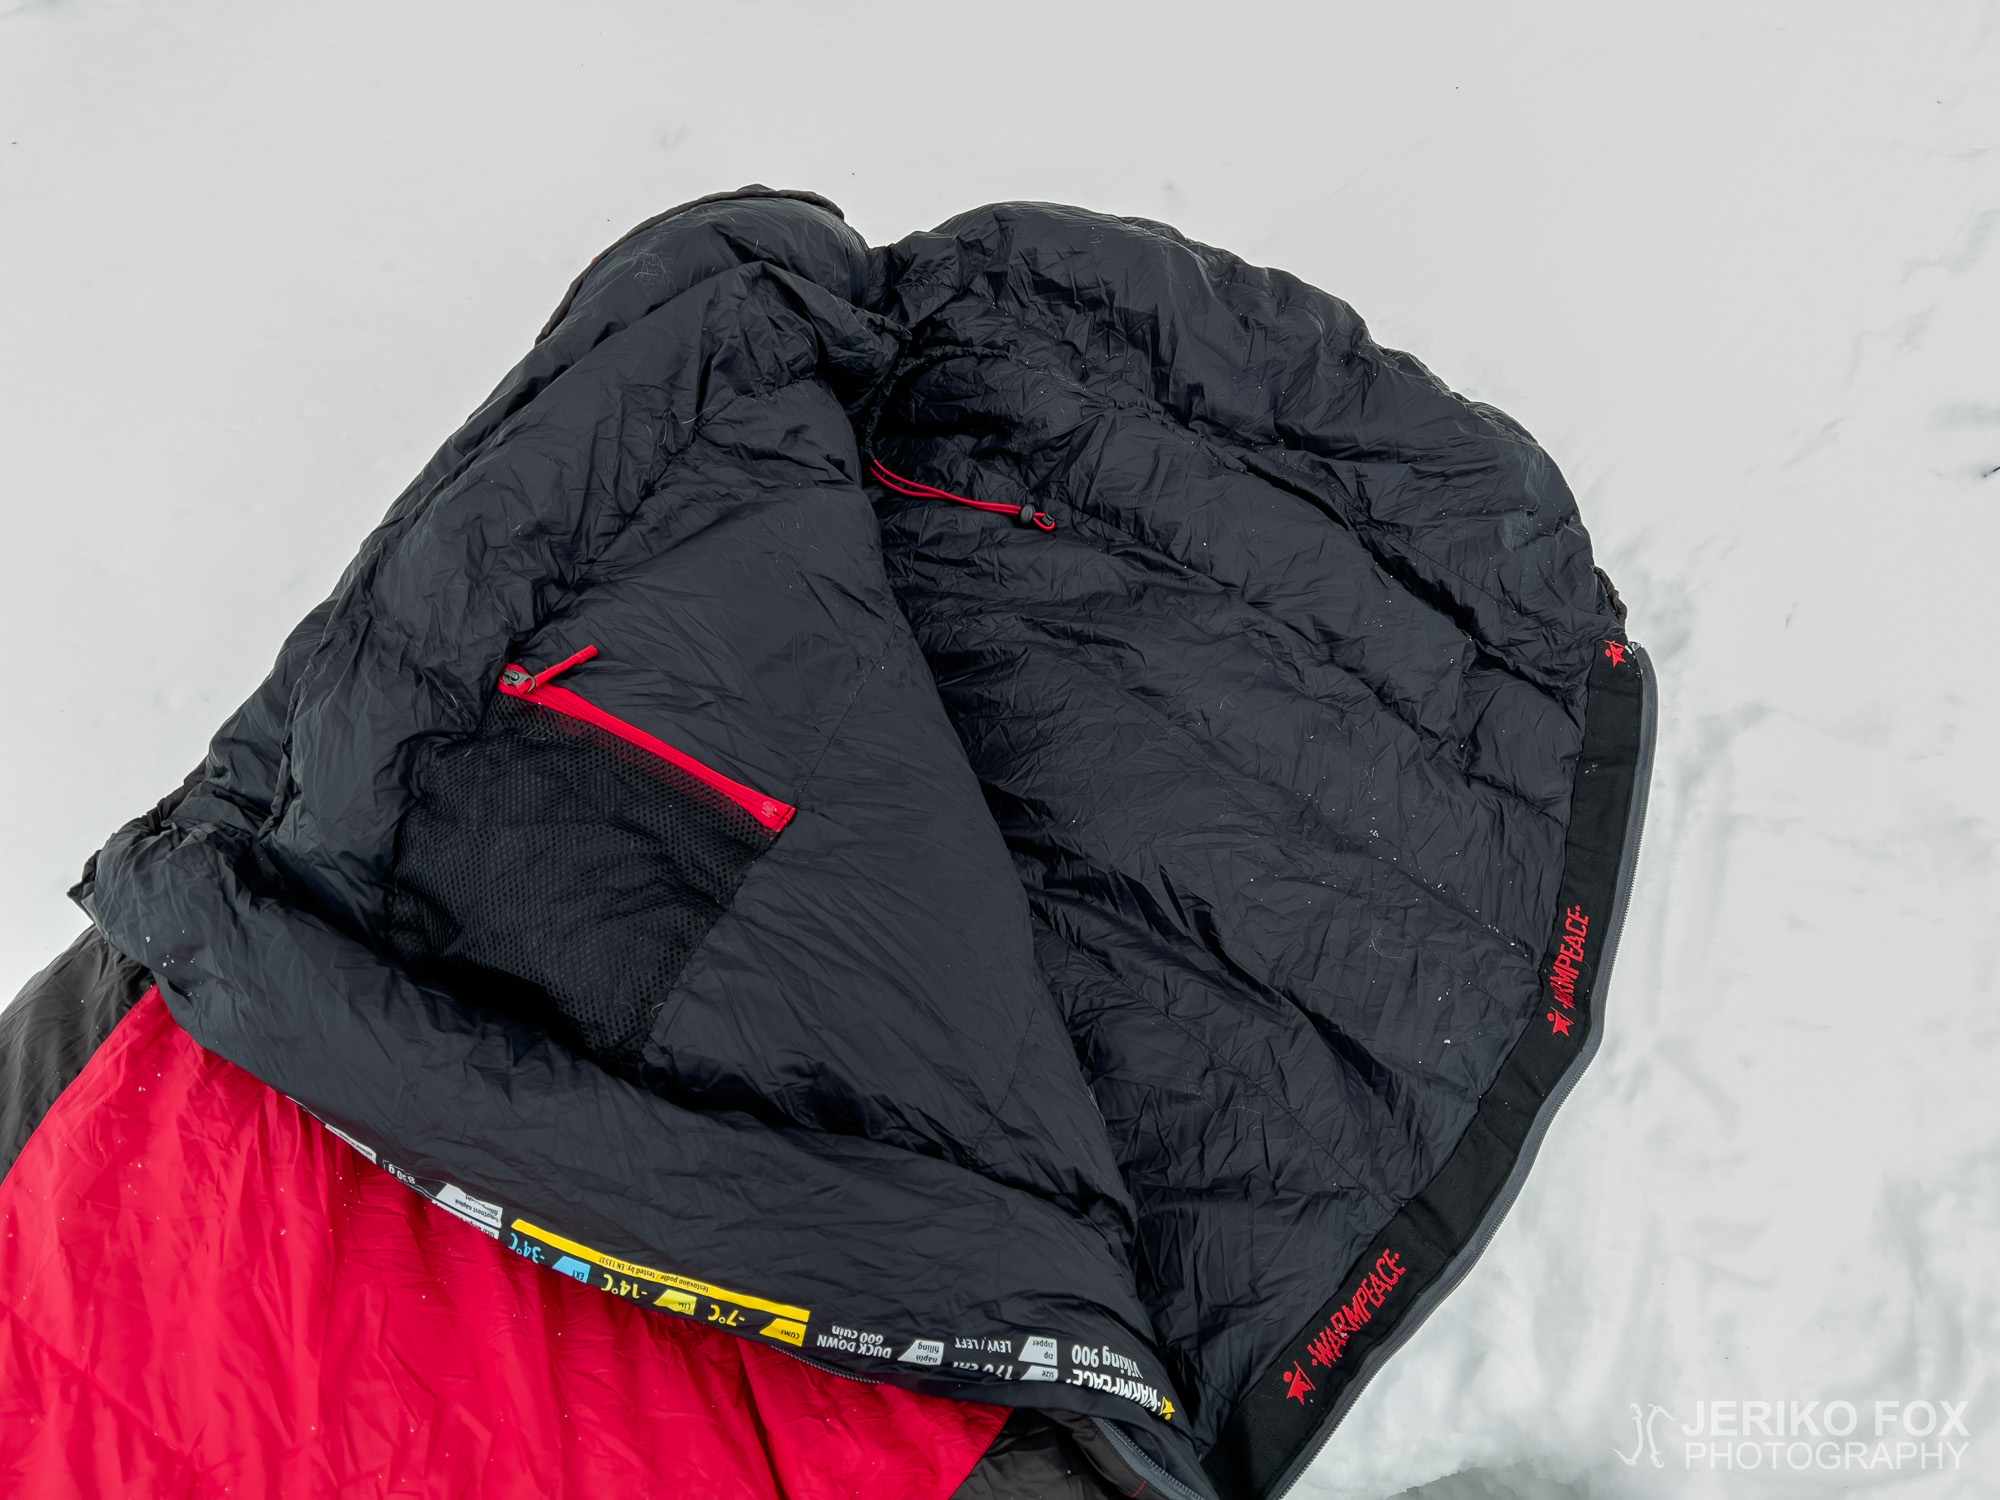
When I was heading for the Appalachian Trail, I took two sleeping bags: a winter...
“How much does your pack weigh?” This is that vernal mating call on the Appalachians...
I was pondering for a long time if I should make a gear video, since...
When you start your climbing hobby, every single gear has a special place in your...
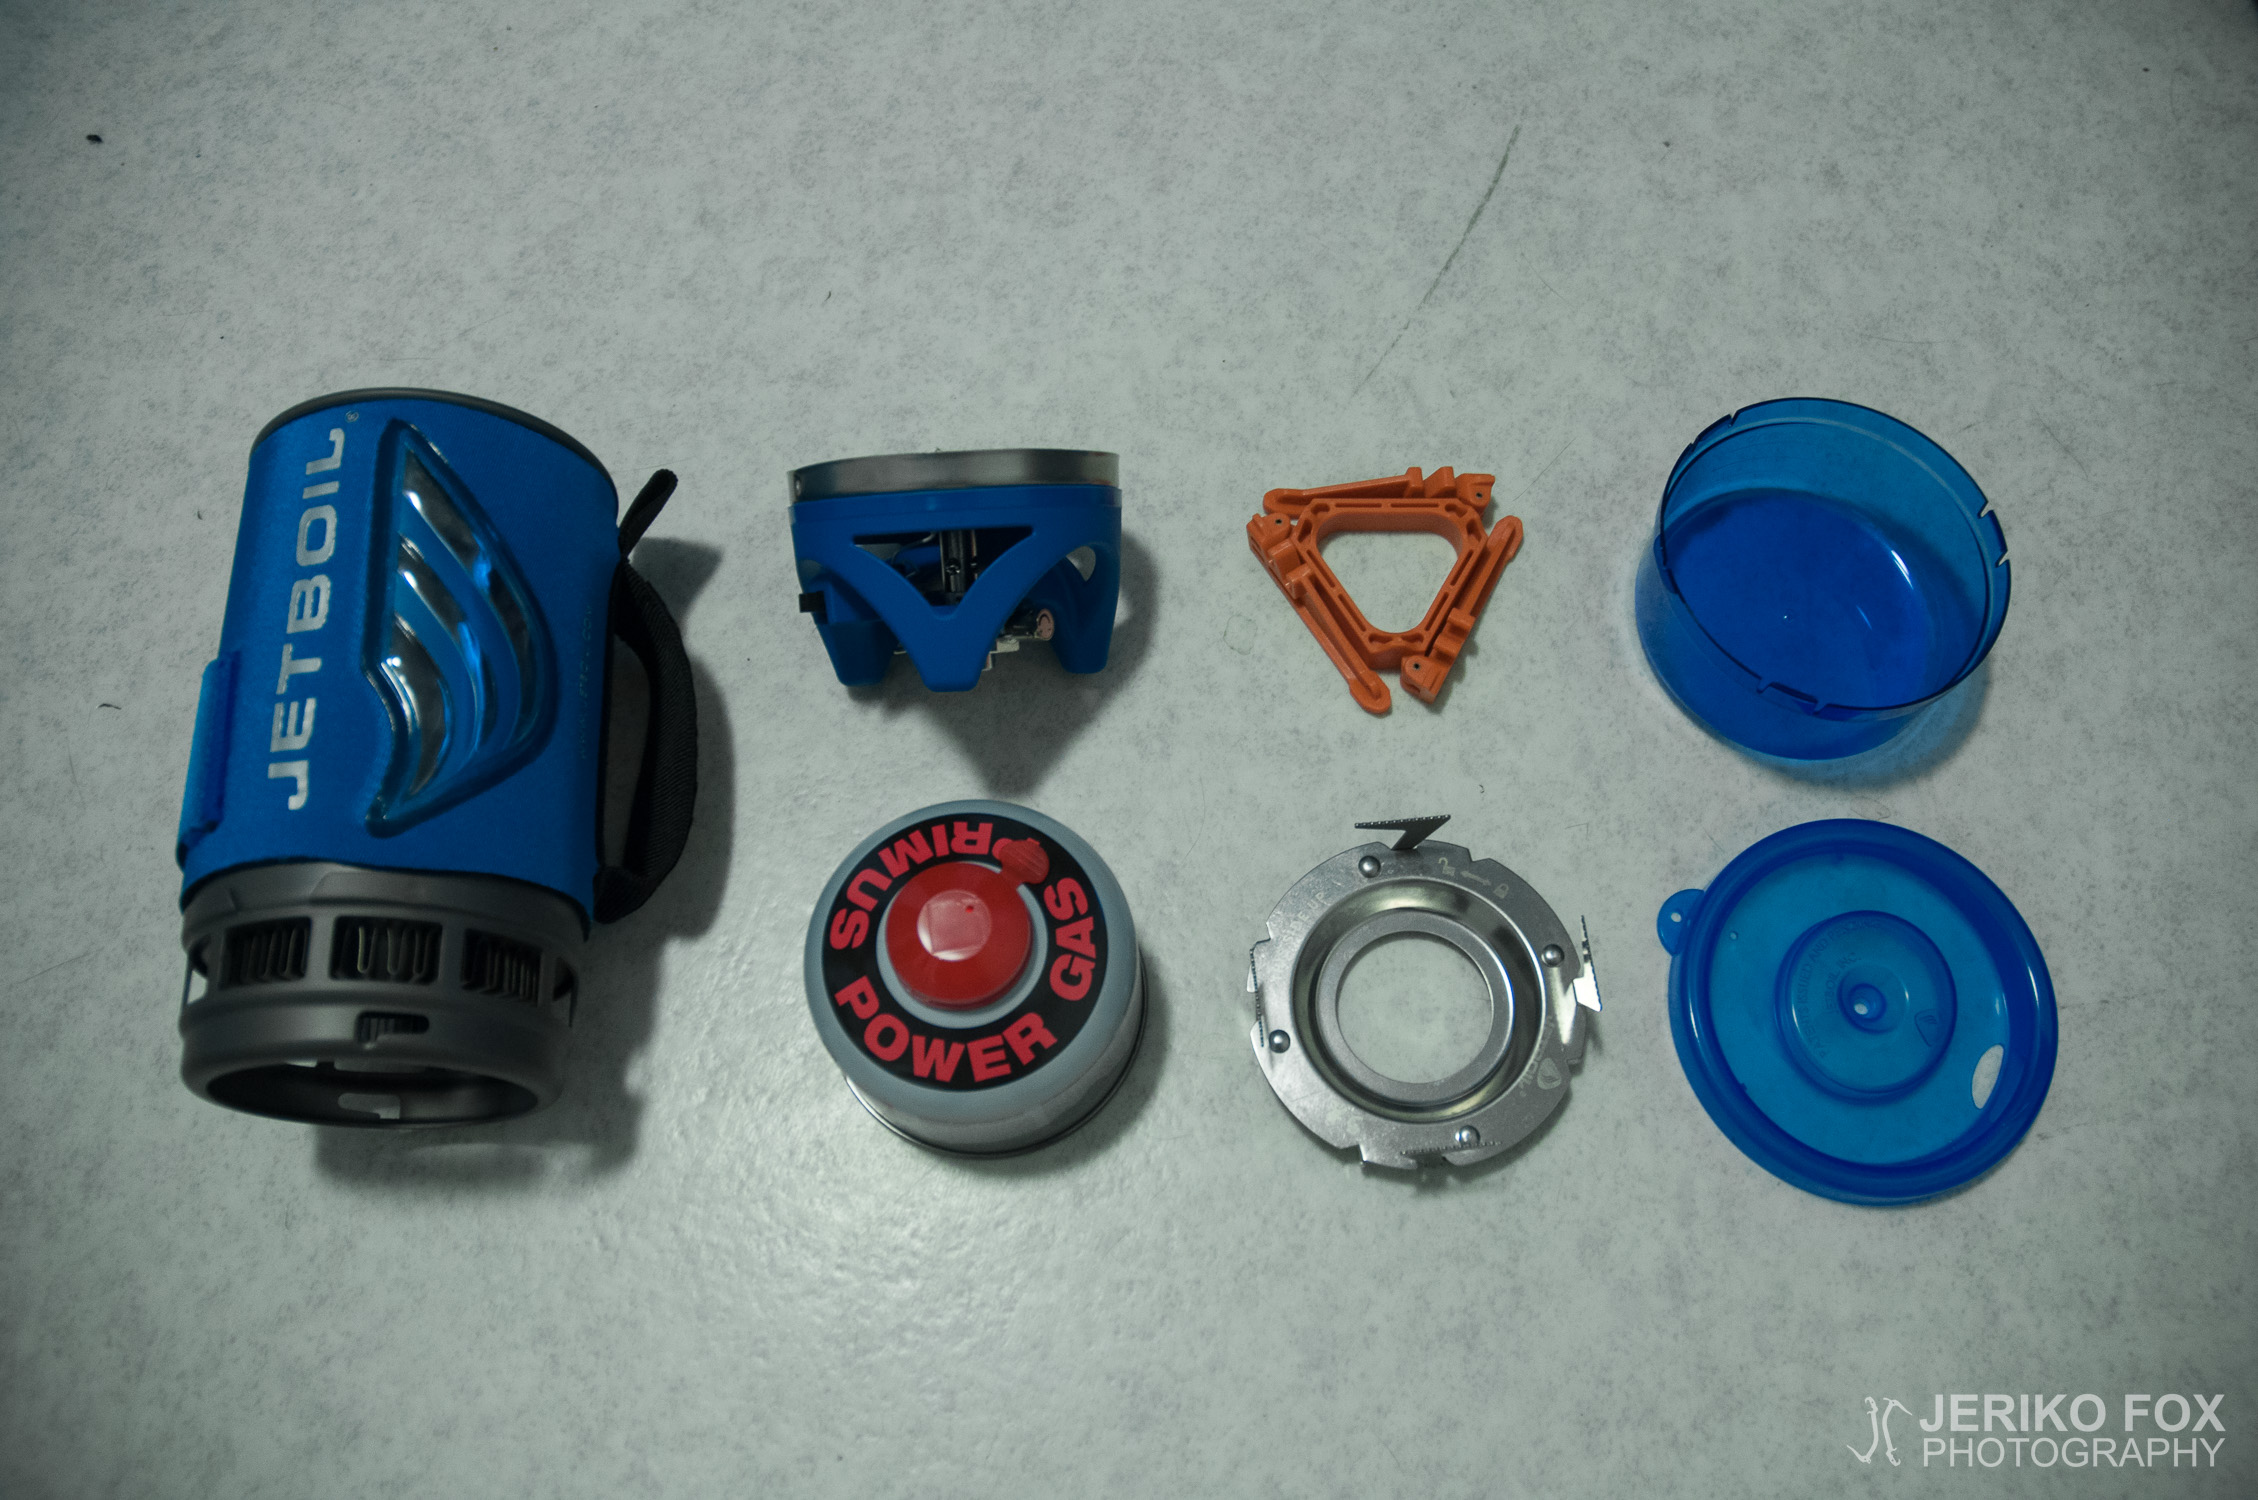
While hiking, I used to be using the classic from Sweden – alcohol-burning Trangia –...
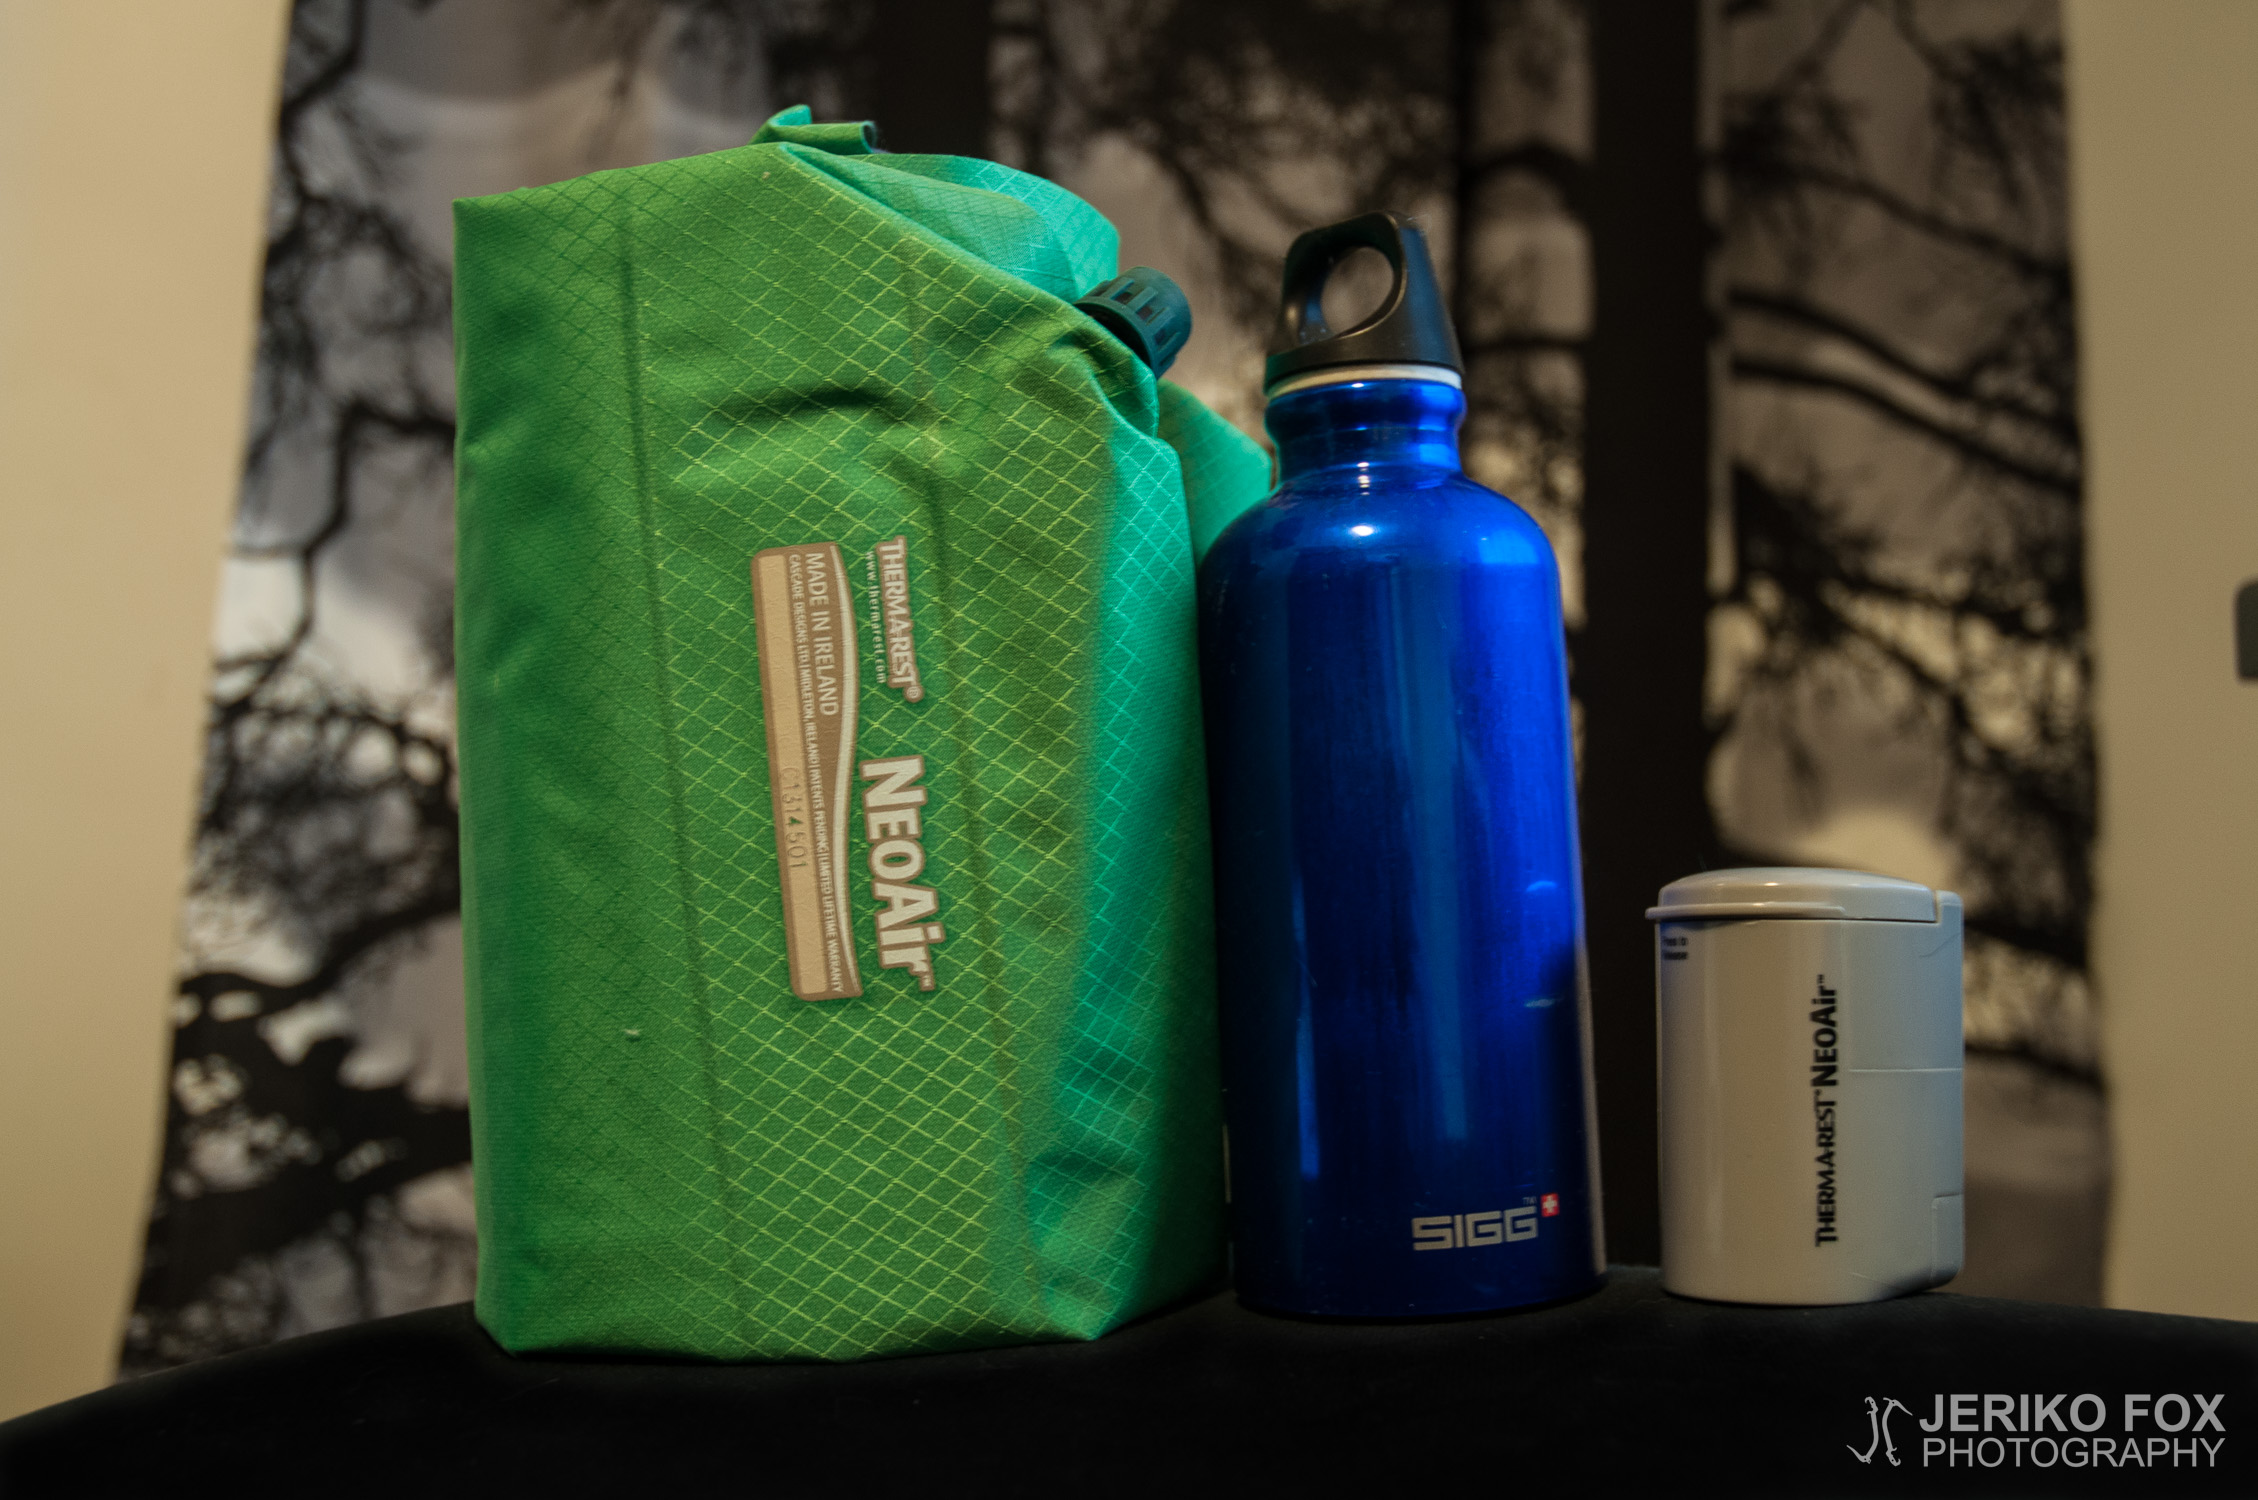
After suffering from freezing conditions with my poorly insulating mattress last time, I decided that...